Going to take a look again at some more Bunkers and Badasses stuff today. I want to look at something that’s pretty central to the whole thing which is: the Badass Move!
The Badass Move is pretty unique in this system. It is basically there to make you do something pretty cool. Now I tend to not really enjoy the turn-based “Let’s go in and try to hit this AC” or “Let’s spend three hours on a single combat”. That’s not fun for me. So I was really intrigued by this whole Badass thing.
What I really liked about it was that it made you have to think. I’m not necessarily great coming up with something cool for my character to do on the spot, but the fact it encourages you to do so makes this system kind of stand out for me.
The Badass die
In order to make this badass move you do need a Badass die. The Badass die is pretty normal in terms of a d20 die, except that there are three 1s, and three 20s. So you have three chances to critical success, and three chances for critical failure, and everything else is a roll against the DC.
But what’s the DC for a Badass Move?
The Bunker Master has to decide that, because they don’t know what kind of crazy stuff you’re going to do. Are you going to decide you’re going to jump off of a friend, and then hang upside down from the ceiling? Sure, go ahead, roll that die, and maybe it’s gonna work out. A typical DC tends to be around 12, and then the Bunker Master needs to scale up or down based on the situation.
Assisting on Badass Moves
A really cool thing about this is you can also assist on a Badass Move. Your party members can join in on the cinematic move and then everybody gets to benefit from the result. The Bunker Master does decide whether or not the assist actually adds to it, or if you are just trying to cash in. I’ve definitely tried to describe my assist and not done very well at making things more “badass”.
Badass Move Results
What happens after you describe and roll for your Badass move? Now you get to attack using your ‘big stat numbers’ and you also get Badass Tokens which you can spend on future Badass Moves. Even if you are not successful, you and assisting players get a few tokens.
Failure does have a drawback: Mayhem points! But I’ll cover that in another post.
In general, you want to get more Badass tokens for you to spend and keep Mayhem points down so your Bunker Master doesn’t have as many to spend to come after you.
Using your “Big stats”
Outside of the fun of Badass Moves, why would you ever do something like this? What Badass Moves come down to is unlocking using your big stat numbers for the rest of that turn, not your mods (which are half your stat rounded down). Your mods add to all your attacks ,all your damage, everything you do. After a Badass Move, you use the bigger numbers on all of these, not the halved numbers!
So let’s say you have a mod of 3 which is coming from a 7 or a 6 stat. Your stat is halved, and then rounded down. With a successful Badass Move now you get to use that 6 or 7 on all your attacks, your damage, dodges, whatever it happens to be that you need during that turn. So you definitely want to try to do Badass Moves all the time!
Badass Rank
Also, completely separate from actually leveling your character up, you could also increase your Badass rank. This means you have more tokens for Badass Moves, and you add this rank to your Initiative rolls, and get more bonus on your Badass rolls. By the rule book, this rank goes up for the whole party at the same time, based on a decision by the Bunker Master. However, you might homebrew this to reward players who are particularly bringing something extra to a combat or the story.
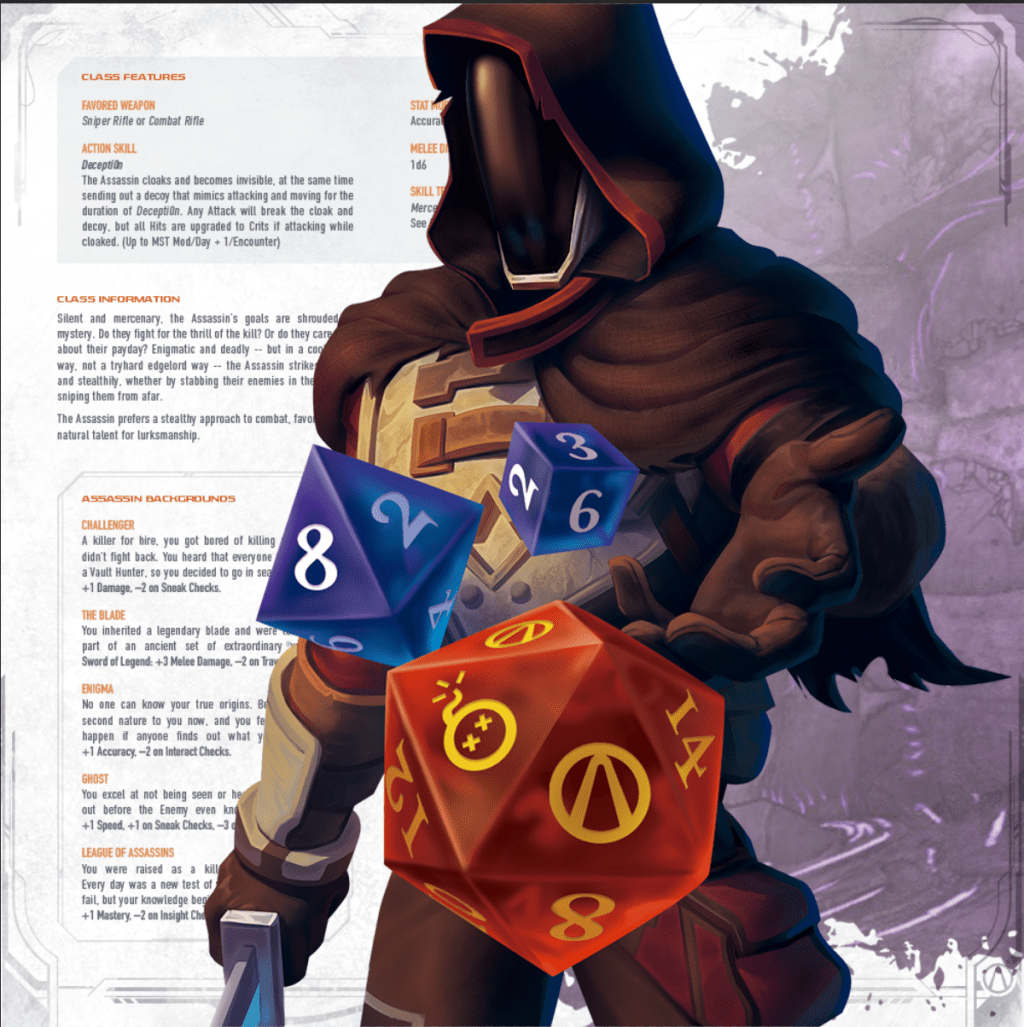
Image credit: Cover image artwork copyright Nerdvana Games, sourced from https://cdn.shopify.com/s/files/1/0471/6645/5964/files/Screen_Shot_2020-09-11_at_9.15.51_PM_1600x.png

Leave a comment